Creating a space where your creativity can flourish is an exciting journey. Setting up a DIY art studio in your home is more than just arranging furniture and tools; it is about crafting a personalized environment that nurtures your artistic passion. In this guide, we will explore the practical steps and creative tips to transform any area of your home into an inspiring art studio. Your art studio can be the haven where you express your deepest emotions and ideas.
Whether you work on paintings, sculptures, or mixed media, the benefits of having a designated studio space include increased productivity and a constant source of inspiration. The amazing advantage of creating your own sanctuary is the freedom to tailor each detail to your own preferences and workflow requirements.
Choose the Right Location
When starting, the first step is to choose a location that matches your artistic needs. It is not necessary to dedicate a whole room; small spaces, when optimized, can serve as perfect creative hubs. Consider areas such as a spare bedroom, an attic, a garage, or even an unused closet. A proper location will not only provide the space you need but also influence the light, ventilation, and overall functionality of your studio.
For artists who work with materials that require ventilation, such as oil paints or solvents, selecting a location with windows or easy access to fresh air is crucial. Even a small, well-planned area like a converted closet with foldable tables or wall-mounted desks can be transformed into a fully functional workspace.
Plan and Organize Your Layout
An organized space leads to an organized mind. Begin by creating a wish list of all the activities and tools you need. Whether it’s easels, large desks, or rolling carts, ensure you have designated zones for working, storing supplies, and even drying your artworks. Divide your space into specific areas for different activities so that each zone promotes a particular aspect of the creative process.
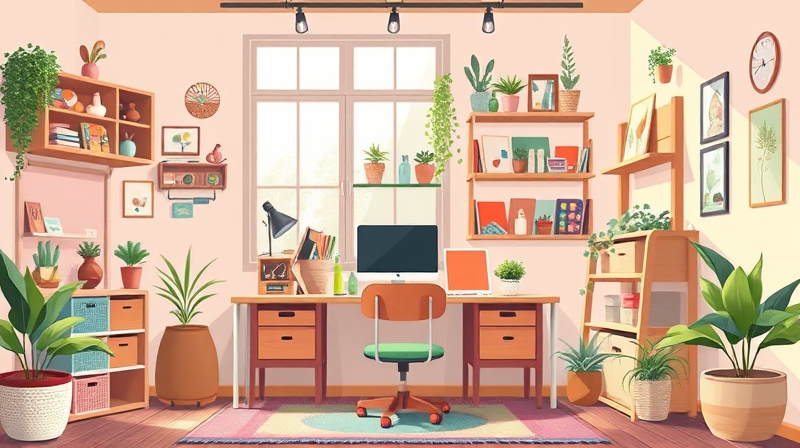
Maximizing vertical space is also a smart choice. Install pegboards, wall-mounted shelves, or racks to store brushes, paints, and other materials. This approach not only saves space but also keeps all your essential tools within arm's reach, allowing you to concentrate more on your art rather than on searching for supplies.
Focus on Lighting and Ventilation
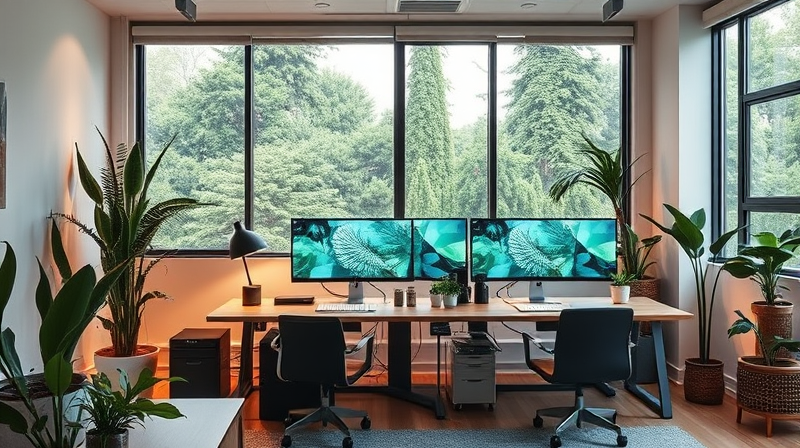
Lighting plays a vital role in any creative space. Natural light is ideal for art studios, as it provides the best illumination for accurate color representation. However, it is often wise to supplement natural light with adjustable, daylight-balanced LED lamps to create a well-lit area free from glare and shadows. Effective lighting can transform your art studio into a warm and inviting space that enhances your overall creative process.
Equally important is proper ventilation. This is particularly critical for artists who utilize chemicals or solvents that produce strong odors. Ensure your chosen space has windows or install fans and air purifiers. A well-ventilated studio helps maintain air quality and creates a healthier environment for long hours of work.
Invest in Essential Tools and Furniture
Every great art studio is built on the foundation of essential tools and practical furniture. Invest in sturdy tables, adjustable desks, or even wall-mounted solutions, especially if your available space is limited. By choosing space-saving and multi-functional pieces, you can make the most of even the smallest studio areas.
Storage is another key component. Utilize items such as drawers, rolling carts, or repurposed furniture to keep art supplies organized and easily accessible. Additionally, consider investing in specialized equipment such as dedicated easels, drying racks, or stay-wet palettes, depending on your chosen medium.
Personalize and Decorate Your Space
Add a personal touch to your art studio by decorating it in a way that reflects your personality. While neutral wall colors are ideal to avoid distracting hues from affecting your artwork, you can incorporate mood boards or inspirational art pieces that resonate with your creative spirit. Small personal touches, such as a favorite piece of art, a handmade decoration, or even a plant, can significantly enhance the ambiance.
Bringing in greenery with indoor plants not only purifies the air but also creates a soothing, natural environment. Investing in ergonomic furniture, like a comfortable chair or an adjustable desk, ensures that even during long creative sessions, you remain comfortable and focused.
Embrace Budget-Friendly Solutions
Creating a DIY art studio doesn’t have to break the bank. Consider incorporating budget-friendly strategies such as repurposing old furniture or buying secondhand materials. DIY projects provide the perfect opportunity to customize your workspace without overspending, and they often result in unique, personalized touches that mass-produced items simply cannot offer.
Prioritize the essentials first: good lighting, proper ventilation, and smart storage solutions should come before decorative elements. Whenever possible, consider purchasing materials in bulk to cut down on long-term costs. This approach not only makes the studio creation process more affordable but also instills a sense of creativity and resourcefulness into your workflow.
Keep It Flexible and Adaptable
One of the most significant advantages of a DIY art studio is the ability to design a flexible and adaptable space. Portability is key when you need to switch between different modes of creative expression. Rolling carts, lightweight furniture, and foldable work surfaces allow you to rearrange the studio according to your needs, making your creative process more efficient.
Consider incorporating features that can easily be adapted for multiple purposes. If you plan to use the room for both creative work and other activities, install fold-away furniture or create multi-purpose zones that can transition smoothly between uses.
Ultimately, creating your own art studio is about more than just design; it is about crafting a space that inspires and nurtures your creative journey. The thoughtful planning, attention to detail, and low-cost strategies discussed in this article empower you to take control of your creative environment and build a studio that truly works for you.
Allow your DIY studio to be a constant reminder that creativity is an ongoing journey—a journey filled with opportunities to innovate, explore, and express your inner visions in ways that are uniquely your own.